

HoloHabits Longevity Panel instructions
Thank you for purchasing the HoloHabits Longevity Test Kit. Before proceeding with the test, please read these instructions ver carefully.
For best results, review these instructions and prepare all materials the evening before testing. This allows you to focus on the testing process in the morning without having to interpret instructions when you've just woken up.
Before starting, photograph the complete contents of both test kits. This provides a useful reference if any items appear to be missing.
Account Setup
- Create an account at results.biostarks.com
- Enter the identification code from the package - Ensure the ID matches exactly on the registration screen
Before Starting
- Make sur eyour sample is registered before anything else
- Fast for at least 8 hours before the test
- Stay well-hydrated the day before testing to ensure proper blood viscosity
- Take the test first thing in the morning, before eating or drinking (water is permitted)
- Have the NAD Longevity test kit ready
Sample Collection: Morning
Prepare by laying out all kit items on a clean, dry surface.
Write your date of birth, gender, and collection date on the blood collection card for proper laboratory identification
Collect the sample on the NAD collection card according to instructions:
Instructions_Longevity_blue lancet.pdfStep 1: Get ready for collection by washing your hands with soap and warm water for 1-2 minutes to improve blood flow, disinfect your finger with the provided alcohol pad then proceed to the collection step.
Step 2: Open the collection card and place it in front of you. Prick the side of the ring finger on your non-dominant hand, as shown in the image.
Step 3: Wipe away the first drop of blood with the provided gauze pad.
Step 4: Without touching its surface, let a large drop of blood fall into each of the two inner circles of the collection card. If the outer circles remain unfilled, add an additional drop of blood as needed.
Step 5: Allow the blood to dry completely (approximately 10 minutes)
Step 6: Close the cover flap of the card and carefully place it back into the plastic bag along with the desiccant. Ensure to remove any excess air before sealing the bag securely. Remove the Security Seal sticker from the bag.
Step 7: Put closed minigrip bag inside the metallic shiny bag.
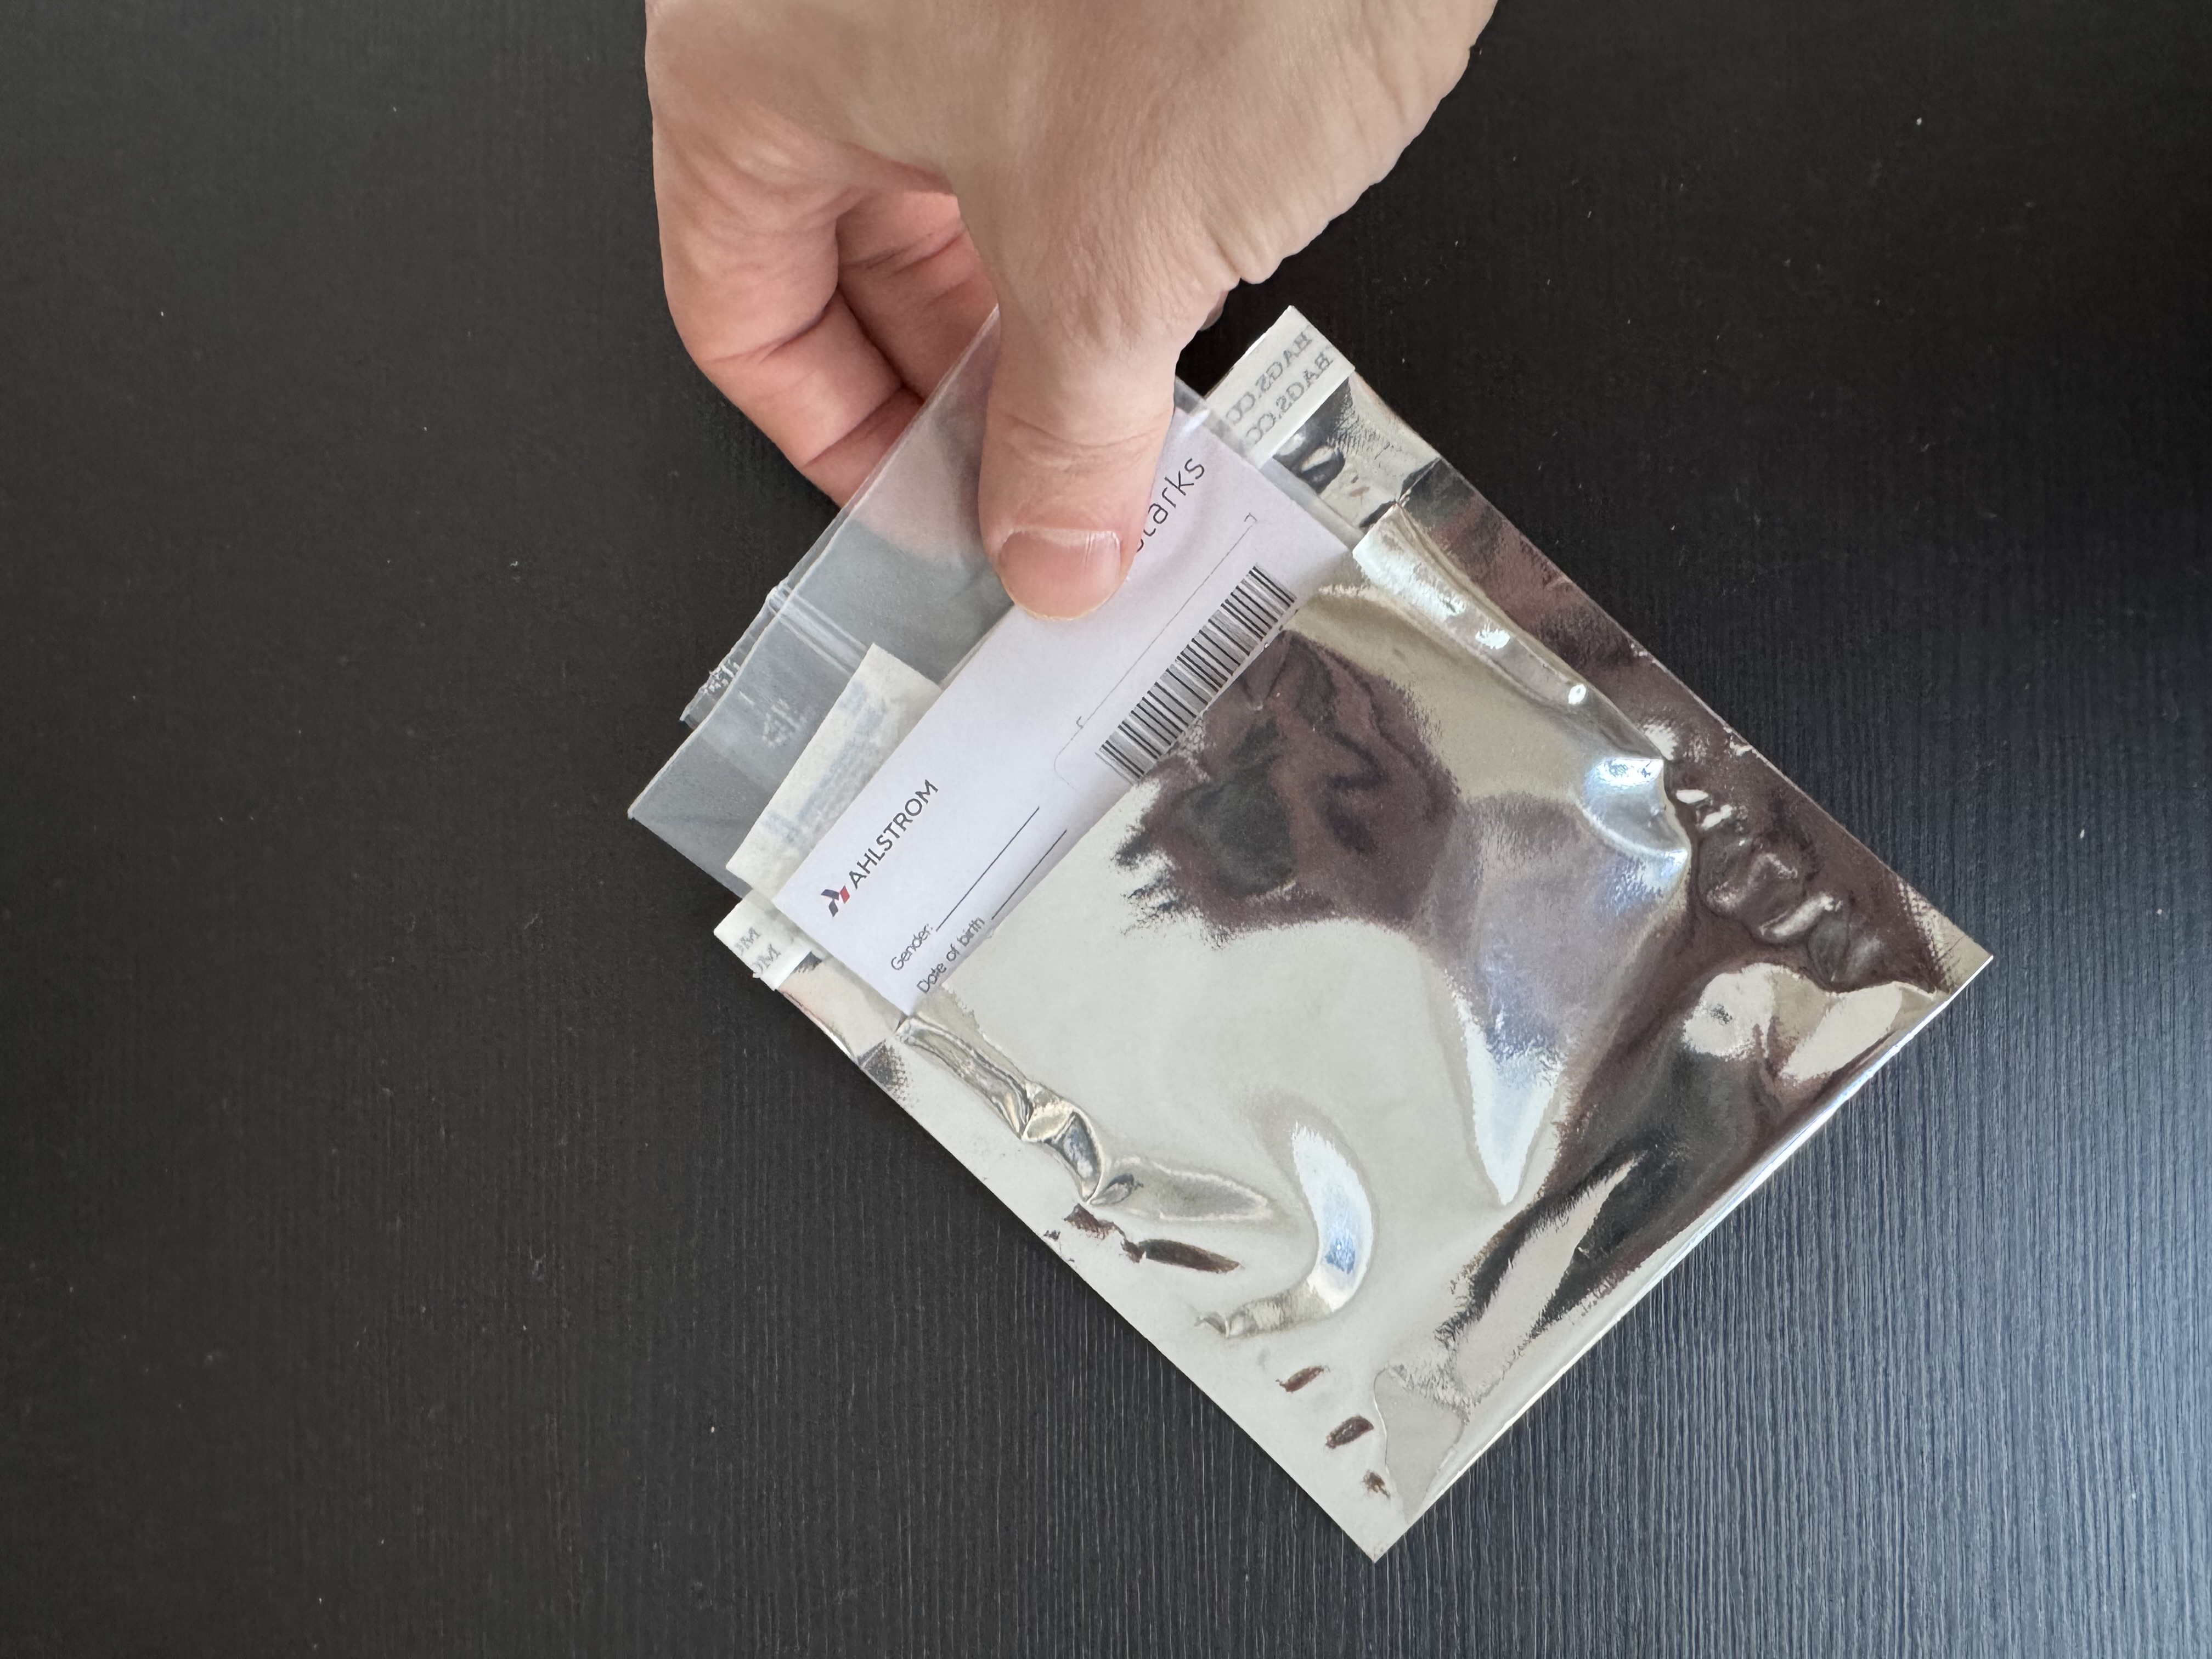
Note on Desiccant: * A sample returned without being placed in the plastic bag with the desiccant and then sealed in the foil bag cannot be analyzed.
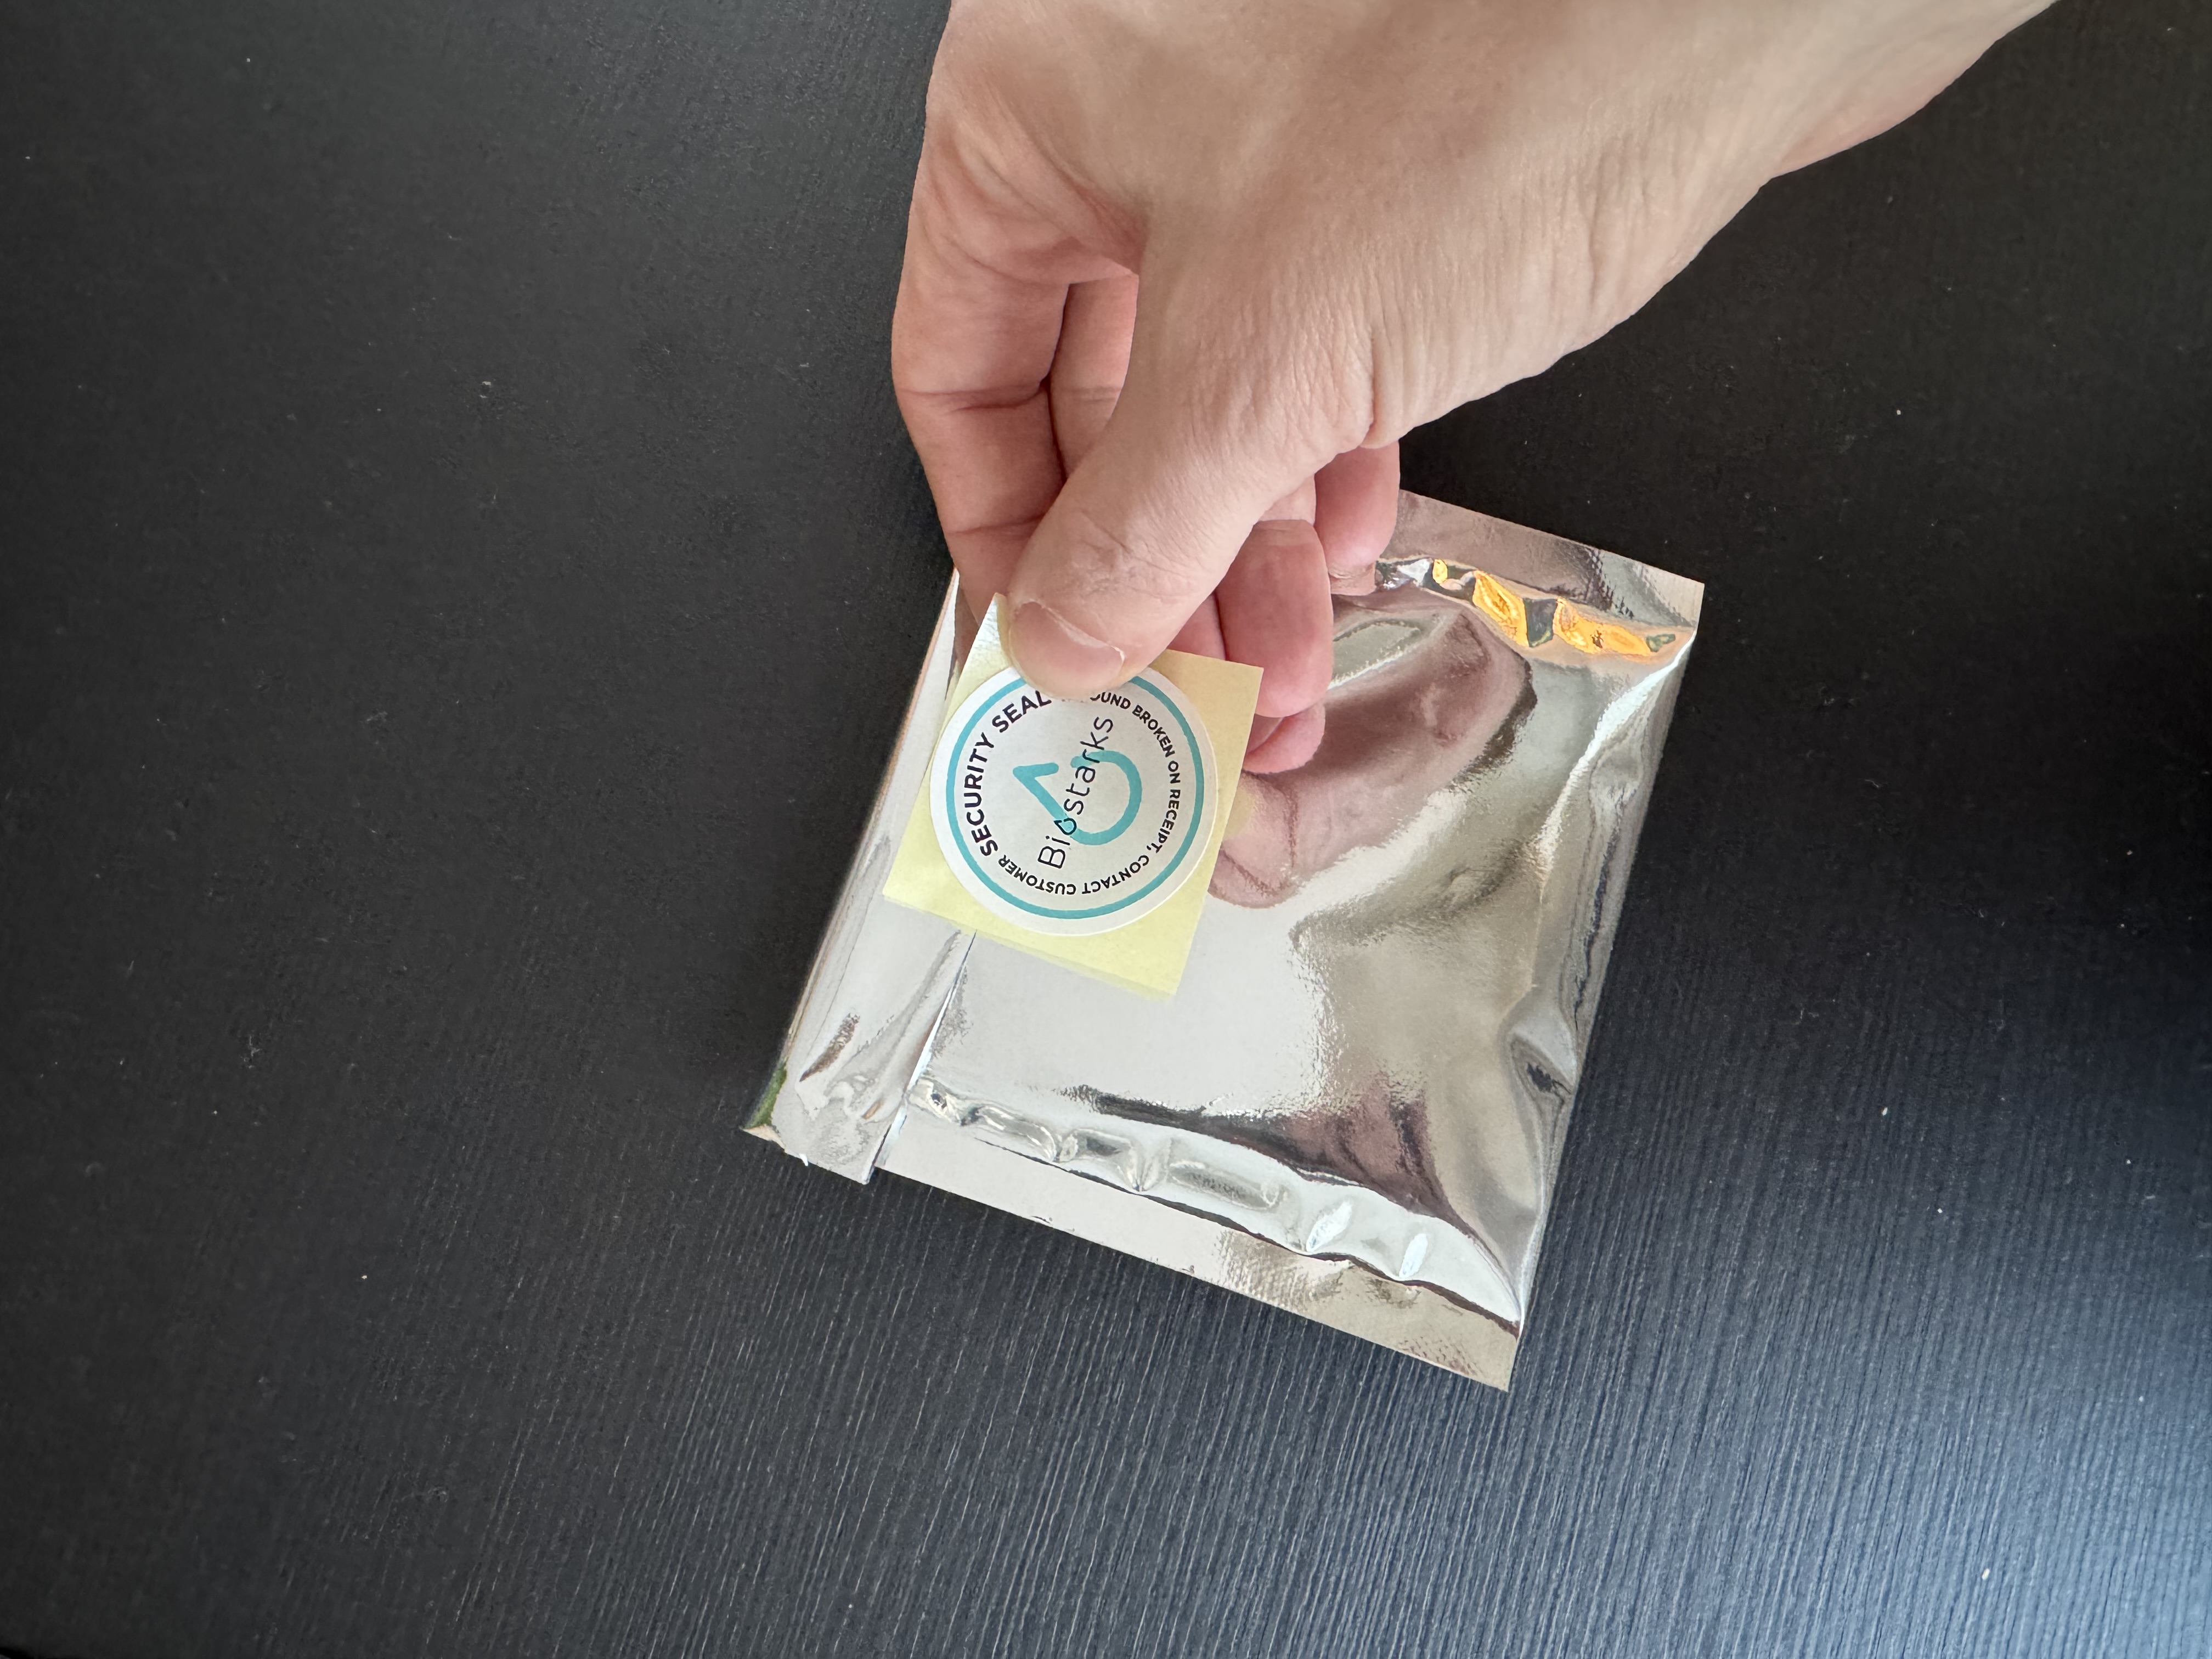
Step 8: Close the metallic bag by removing the sticket. Then seal it with the security seal on the top.
Step 9: Put metallic bag inside the return envelope and close it.
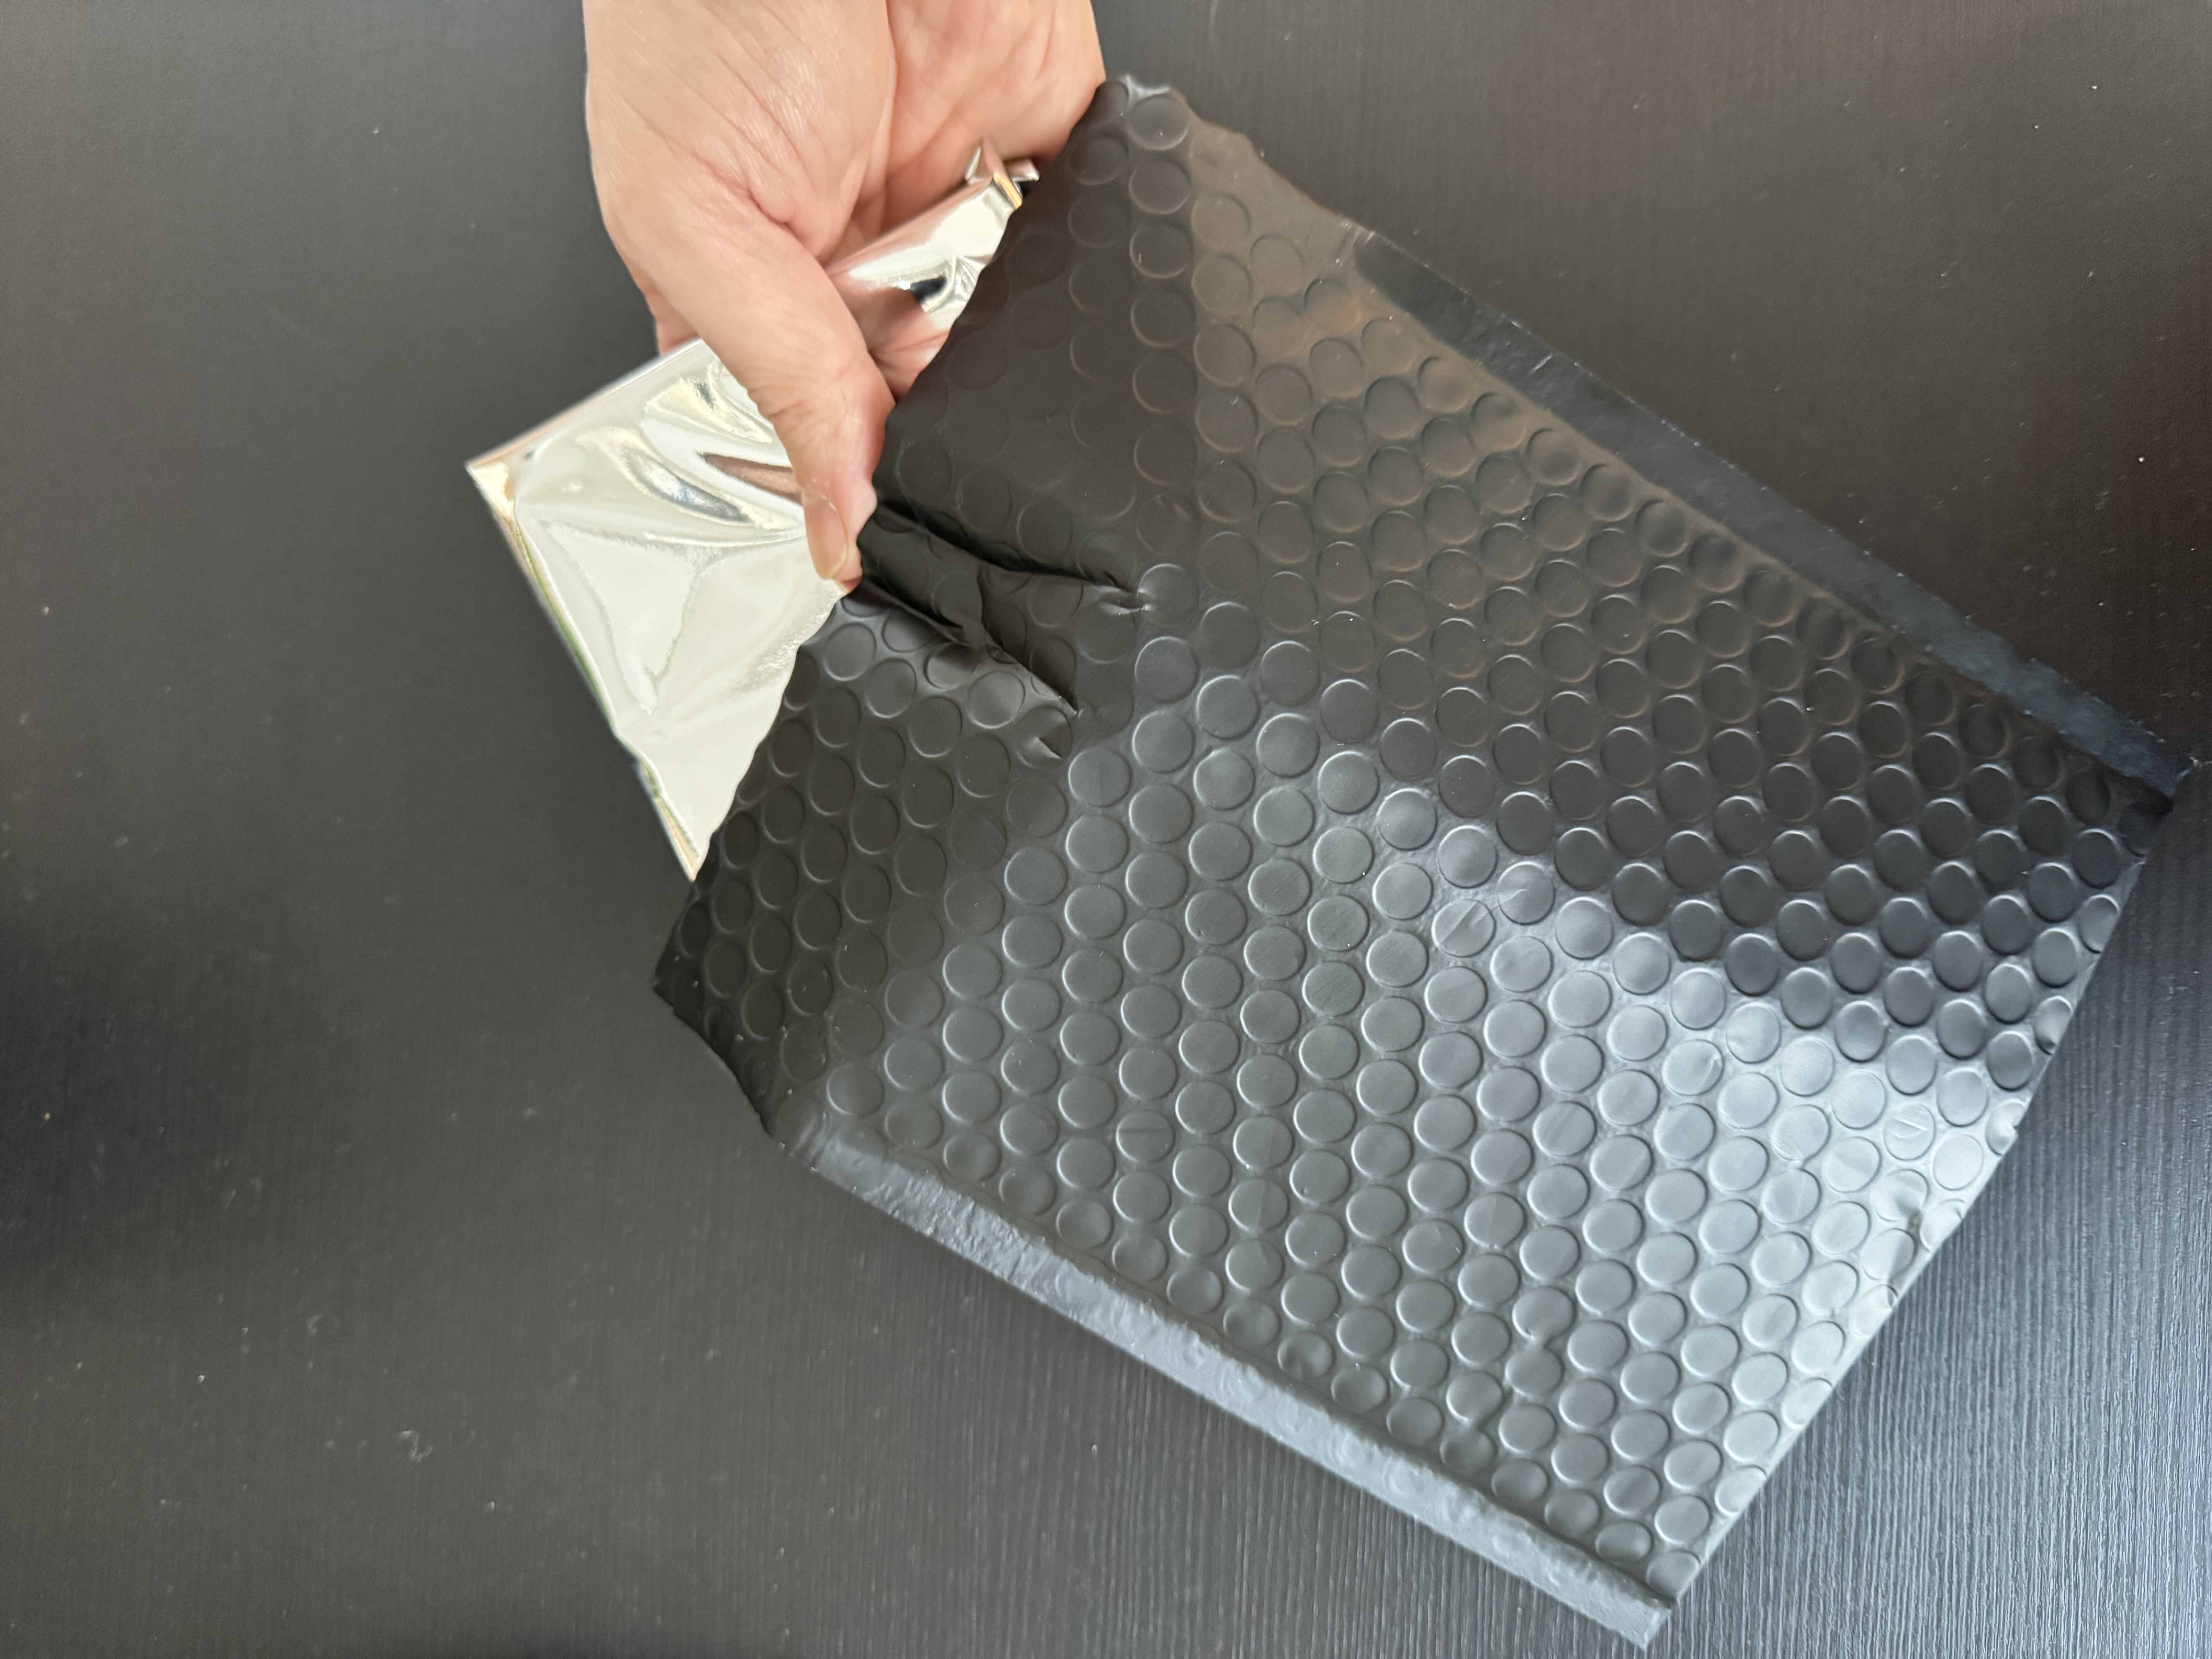
When finished, you should have one complete package: the sample and desiccant in the plastic bag, sealed inside the foil bag, all contained within the return envelope.
! WARNING: The laboratory will reject samples if either the NAD collection card is not in the plastic bag or if the desiccant is missing from the plastic bag, or the plastic bag contains something extra, like the Security Seal sticker.
Shipping
- Login to the Biostarks website, and go to “Shipping instructions”
- Pick your region & follow the next steps closely
- Print the shipping label & follow the instructions
- Select a UPS dropoff point nearby
- Drop the envelope with attached label
Important Notes
- Sample Validity: Send samples with no delay, the lab will reject the samples if they are delivered after 14 days
- Replacement Cost per 1 kit: 85€ + VAT + shipping in case if kit is rejected by lab
Warning: Make sure you follow the instructions very carefully. If the test is done incorrectly or rejected by the lab for any reason, it's not eligible for a refund. You can get a replacement kit for an extra fee.